At the HPDA frontend node of SQUID, a Jupyter Notebook environment is provided. By logging into the HPDA frontend node and launching the jupyter container, you can edit and execute programs in Python and other programming languages in a browser. This page explains how to launch the jupyter container and how to access it via a web browser.
Note: The Python used in the Jupyter Notebook environment is different from the Python environment available in SQUID. It is recommended to install packages separately for each.
Available Jupyter Containers
-
SQUID offers three types of Jupyter containers. Choose a container according to the environment you want to use:
| Container Name | Available Kernel |
|---|---|
| jupyter | python 3 |
| jupyter-julia | python 3 julia 1.6.1 |
| jupyter-r | python 3 R 4.1.2 |
Usage Guide
1.Login to HPDA Frontend
To use Jupyter Notebook, you need to connect to the HPDA frontend. Please note that the connection destination is different from the HPC frontend. The connection destination is squidhpda.hpc.cmc.osaka-u.ac.jp.
squidhpda.hpc.cmc.osaka-u.ac.jp
2.Acquiring the jupyter container image
Retrieve the jupyter container image from the local registry by executing the following command in the home directory.
$ singularity pull jupyter.sif oras://cntm:5000/master_image/[container name]:1.0
The container name part should be changed to match the container to be activated. For [container name], please click here.
example)the case of jupyter-julia container
$ singularity pull jupyter.sif oras://cntm:5000/master_image/jupyter-julia:1.0
If the container image is successfully acquired, a file name jupyter.sif will be created in the home directory. If a file with the same name already exists, delete it beforehand before executing the above command. *Execution of the command will fail.
3.Starting the jupyter container
In the home directory of the logged-in user, execute the jupyter container startup shell script to start the jupyter container.
| container name | execution command |
|---|---|
| jupyter | run_jupyter_container.sh |
| jupyter-julia | run_jupyter_container.sh -k julia |
| jupyter-r | run_jupyter_container.sh -k R |
If the jupyter container is successfully started, the terminal will display the following:
jupyter Notebook URL:https:// squidhpda1.hpc.cmc.osaka-u.ac.jp:10125
INFO: Converting SIF file to temporary sandbox...
INFO: instance started successfully
jupyter login token : 3c4b9f3fb424b9059d1076c559adff837f9fc9ee8ce81842
The information displayed is as follows It is used in the next step "4. Accessing with a Web Browser".
jupyter Notebook URL
The URL for accessing jypyter Notebook with a web browser. The port number is automatically assigned to an available number within the range of 10000~11000.
jupyter login token
A token to be entered on the jupyter authentication screen when accessing from a web browser.
4.Access via Web Browser
Launch a web browser and access the "jupyter Notebook URL" displayed when starting the jupyter container.

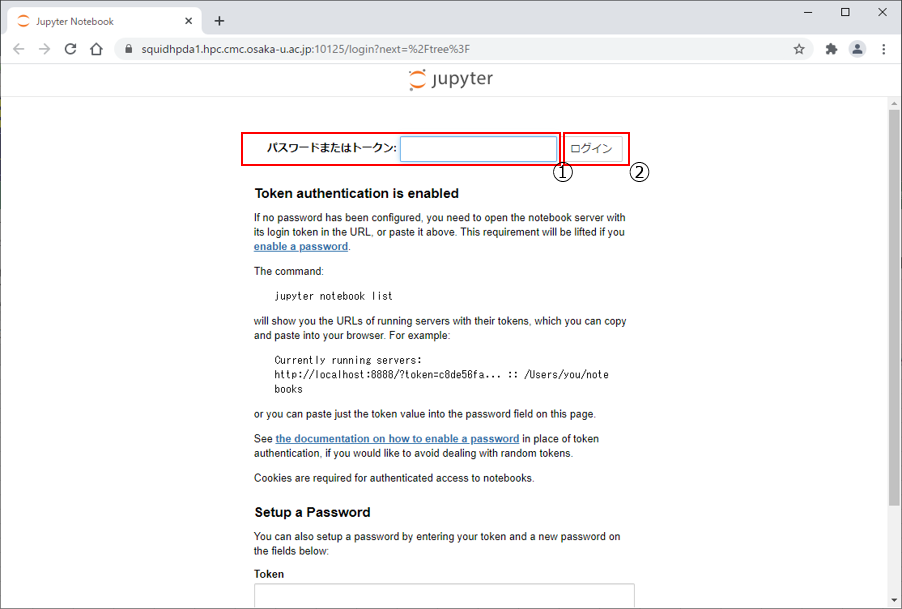
You will be prompted for a user name and password, enter the following values to log in.
1)User name:SQUID User ID(User name used when logging into the HPDA front end)
2)password:SQUID password(password used when logging into the HPDA front end)
If the password authentication succeeds, you will be asked to enter the jupyter token, so enter the "jupyter login token" that was displayed in "3. Start jupyter container".
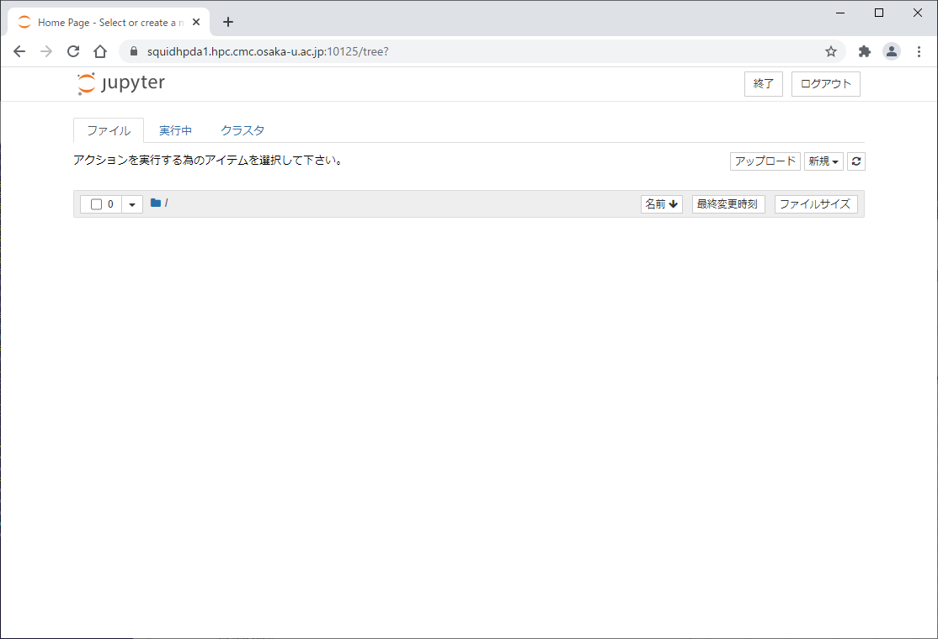
If the authentication with the jupyter token is also successful, the initial jupyter Notebook screen will appear. You are now ready to use jupyter notebook and can edit and run your program on the HPDA front end through your web browser.
5.jStopping the jupyter container
When you finish using it, execute the jupyter container stop shell script in the home directory of the logged-in user to stop the jupyter container.
| Container name | execution command |
|---|---|
| jupyter | stop_jupyter_container.sh |
| jupyter-julia | stop_jupyter_container.sh -k julia |
| jupyter-r | stop_jupyter_container.sh -k R |
[If you are unable to stop the jupyter container]
Both SQUID's HPC front-end servers and HPDA front-end servers are configured with four units. squidhpda1 to squidhpda4 exist for the HPDA front-end servers.
The shutdown process must be performed on the same front-end server as the startup process. In this case, log in to squidhpda2.
ssh squidhpda2
If you are unsure of the front-end server at startup, please check the ~/.jupyter.info file. If you are unable to stop the system, please contact us using the contact form.
Customizing the jupyter container
The initial jupyter container is provided in a state where components such as libraries are not installed so that users can customize it according to their preferences. This section explains how to install additional components in the jupyter container.
For example, the installation methods for numpy and matplotlib are introduced.
installing numpy
1.terminal startup
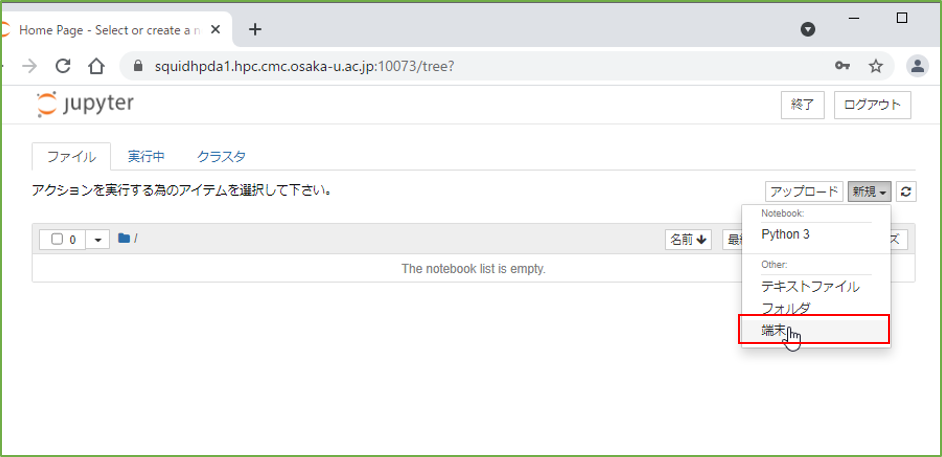
Work from the initial screen of jupyter Notebook as shown in "4. Accessing the jupyter container. Click the New button in the upper right corner of the initial screen and select a terminal.

2.Execute pip command
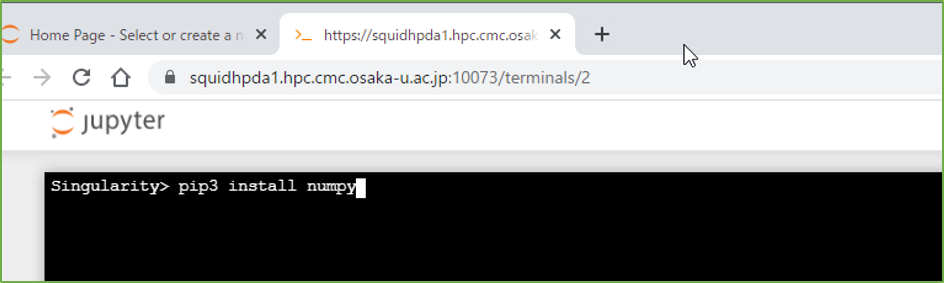
Type the following command into the terminal and press the Enter key.
pip3 install numpy
3.Confirmation of installation
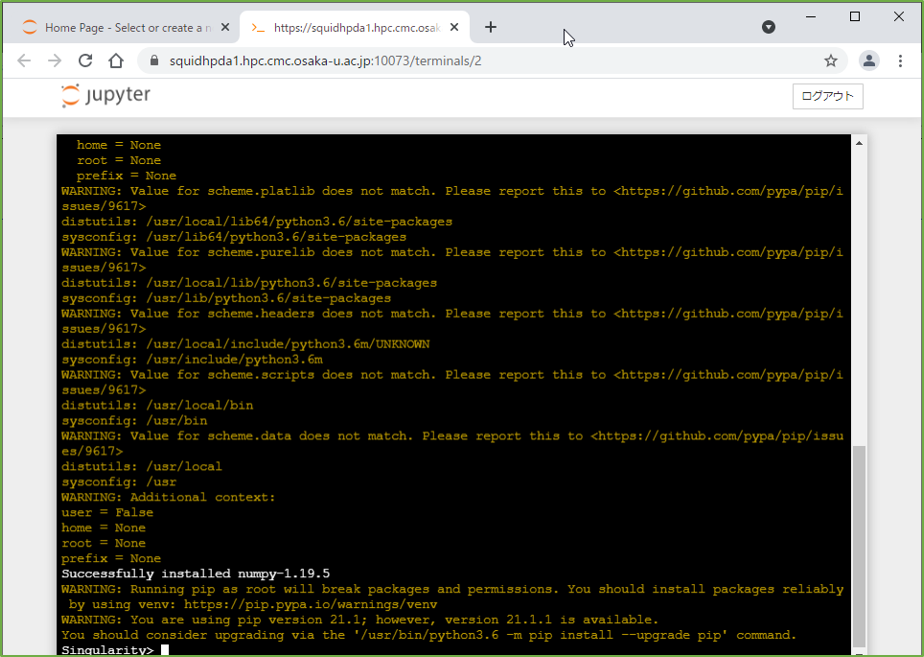
When the installation is complete, the following message will be displayed.
The "x.x.x" part shows the version of numpy installed.
Successfully installed numpy-x.x.x
installing matplotlib
1.Start the terminal
In "4. Accessing the jupyter container," work from the initial screen of jupyter Notebook. Click the New button in the upper right corner of the initial screen and select a terminal.
2.Execute pip command
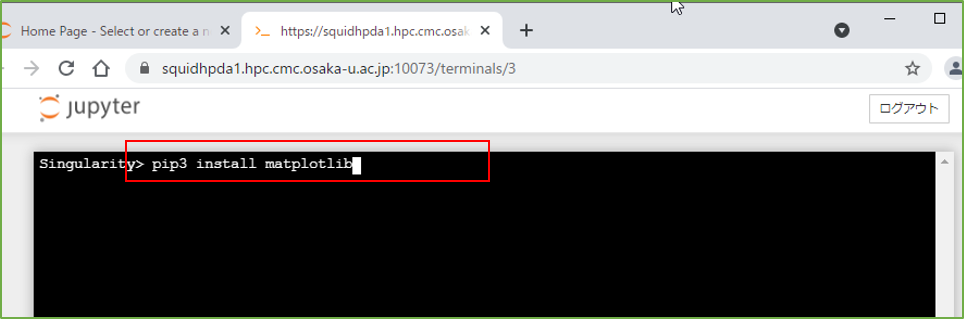
Type the following command into the terminal and press the Enter key.
pip3 install matplotlib
3.Confirmation of installation
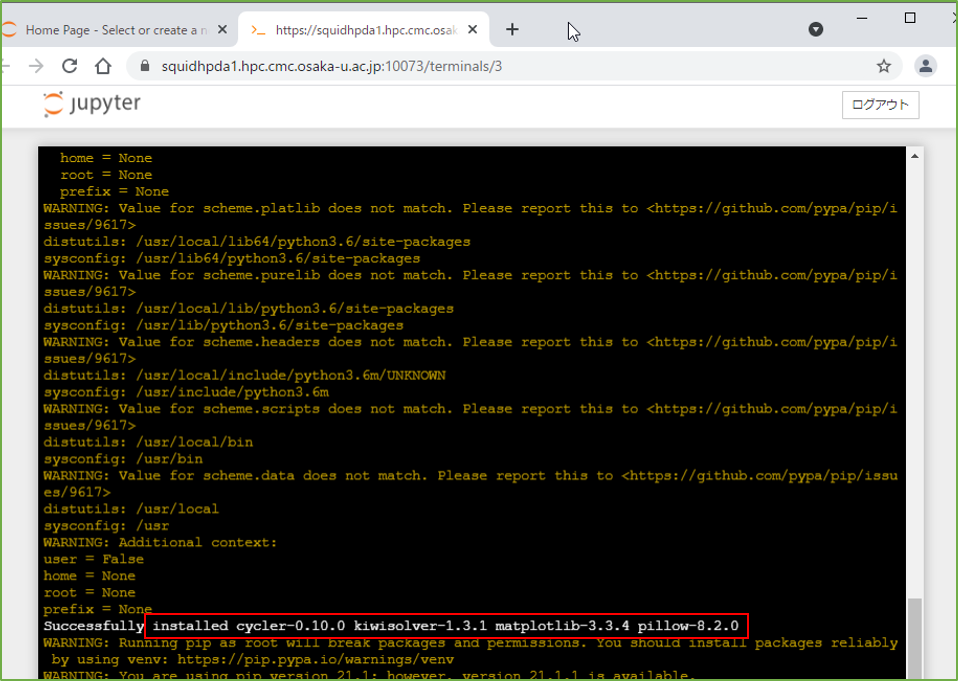
When the installation is complete, the following message will be displayed.
The "x.x.x" part shows the version of the installed matplotlib and dependent packages.
Successfully installed cycler-x.x.x kiwisolver-x.x.x matplotlib-x.x.x pillow-x.x.x
Mounting the work area
When starting the jupyter container, a directory named "jupyter_notebook" is created in the home directory. Although only this directory can be accessed on Jupyter Notebook, you can mount other directories such as the work area under "jupyter_notebook" by following the steps below.
1.Creating a directory for work area mount
Create a directory for mounting the work area under the home jupyter_notebook directory.
mkdir ~/jupyter_notebook/user_work
2.Copy the startup script
Copy the startup script of jupyter to your home directory because it needs to be edited. There is no name specified, but in the following example, it is copied as run_jupyter_container_custom.sh.
cp /system/tool/bin/run_jupyter_container.sh ~/run_jupyter_container_custom.sh
3. Edit the startup script
Add one line to lines 75-78 of the copied startup script using an editor such as vi or emacs.
[Before modification]
|
1 2 3 4 |
singularity instance start -w -f \ --bind /etc/pki:/etc/pki/certs \ --net --network-args "portmap=$port:10443/tcp" \ ${SIFNAME} ${INSTNAME} |
[After modification]
|
1 2 3 4 5 |
singularity instance start -w -f \ --bind /etc/pki:/etc/pki/certs \ --bind [mount path]:/root/jupyter_notebook/user_work \ --net --network-args "portmap=$port:10443/tcp" \ ${SIFNAME} ${INSTNAME} |
The third line is added. In the [mount destination path] field, enter the path of the directory you want to access from Jupyter Notebook, such as the path of the work area. The following is an example of a user with the group name G12345 and user number a12345 mounting his own work area.
--bind /sqfs/work/G12345/a12345:/root/jupyter_notebook/user_work \
4.Start the jupyter container
Execute the edited startup script to start the jupyter container. By specifying the -k option at startup, you can select the container to start as in the normal case. The following is the command to start the jupyter container (jupyter-julia) of the Julia kernel with the edited script file name "run_jupyter_container_custom.sh".
./run_jupyter_container_custom.sh -k julia
The following steps are the same as for normal use. Please see here.
