A remote display environment using "NICE DCV (Desktop Cloud Visiualization)" is available on SQUID, HPC front-end.
When you are finished using the service, please remember to delete the session with this command. If the session remains, other people will not be able to use it.
Getting Clients
You can get the "NICE DCV Client" from hereand install it on your PC, which comes in Windows, Linux, and macOS versions.
Creating virtual sessions for NICE DCV servers
Log in to the HPC frontend and create a virtual session for the "NICE DCV server". Execute the following command. Enter any string for the session name. There are four HPC front ends. You need to connect to the server of the front-end where you created the virtual session. The server name and session name will be needed when connecting, so please keep the information handy.
The total number of virtual sessions that can be created by all users is 4. Please refrain from creating multiple sessions by yourself.
| $ dcv create-session --type=virtual [session-name] #create a virtual session $ dcv list-sessions #check the created virtual session |
launch NICE DCV client
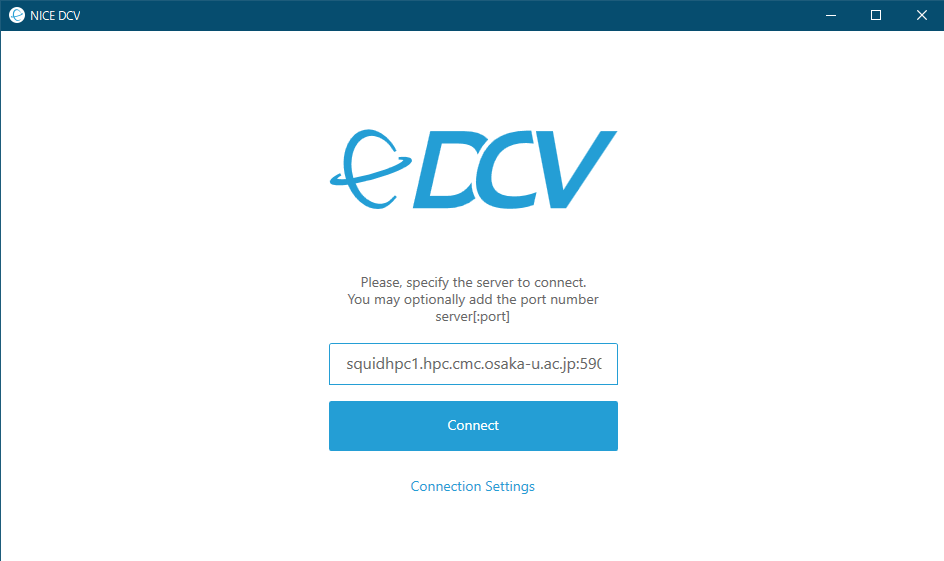
Start the NICE DCV client on your PC. When it starts, you will see a window like the one below, connecting to the virtual session you created with SQUID's HPC frontend. For example, if the server where you created the virtual session is "squidhpc1" and the session name is "mysession", enter "squidhpc1.hpc.cmc.osaka-u.ac.jp:5901/#mysession" and click "Connect".
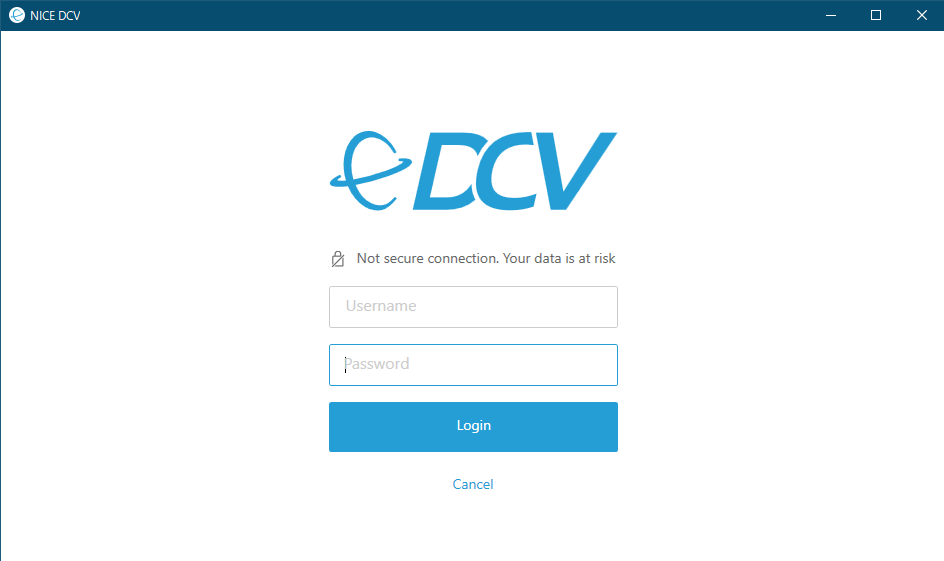
If the connection to the "NICE DCV server" on the HPC frontend is successful, the following screen appears. Enter your user name and password, and click "Login".
| $ dcv close-session [session name] # delete your virtual session |
Please note that you will need to connect to the server where you created the virtual session and delete it.
