ONION-file is a web storage service powered by Nextcloud. SQUID users can move data between your local environment and the storage on SQUID through the web I/F. You can access the stored data from the frontend and compute nodes of SQUID. The data stored via Onion-file is stored in the following path:
/sqfs/home/[UserID]/OnionWeb/
example: If userID is "user001", your data stored on /sqfs/home/user001/OnionWeb/
How to link the work area
cd ~/Onionweb
readlink -f /sqfs/work/[Group name]/[UserID]/
example: If userID is "user001", group name is "G00001": readlink -f /sqfs/work/G00001/user001/
If the output is
/sqfs2/cmc/0/work/[Group name]/[UserID]
, add a "/" to the end and run
ln -s /sqfs2/cmc/0/work/[Group name]/[UserID]/ work
with that as the first argument to create a symbollic link.
If the output is
/sqfs2/cmc/1/work/[Group name]/[UserID]
, add a "/" to the end and run
ln -s /sqfs2/cmc/1/work/[Group name]/[UserID]/ work
with that as the first argument to create a symbollic link.
†The path varies by group.
How to use
file uploading procedure
file downloading procedure
file name changing/file moving/file deleting procedure
sharing file and folder(URL sharing)
Use of External storage
how to use with Nextcloud applcation
Login procedure
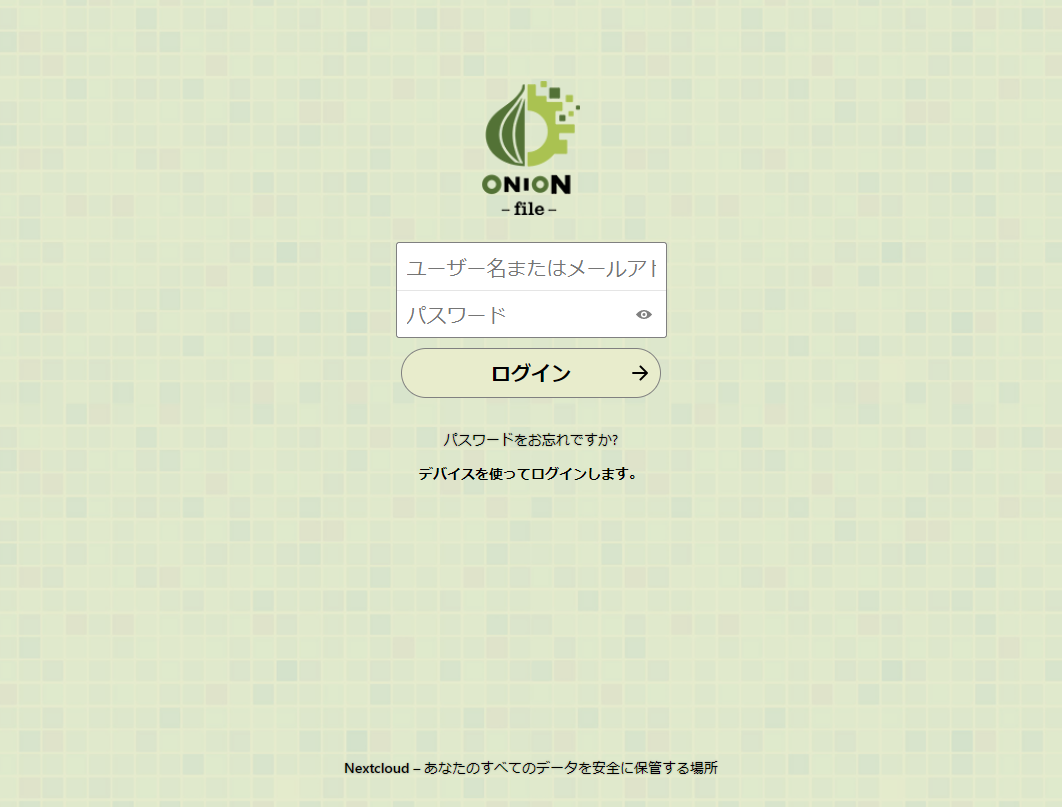
SQUID - Nextcloud
Press the login after typing in your user ID and password on SQUID after the login screen is displayed.
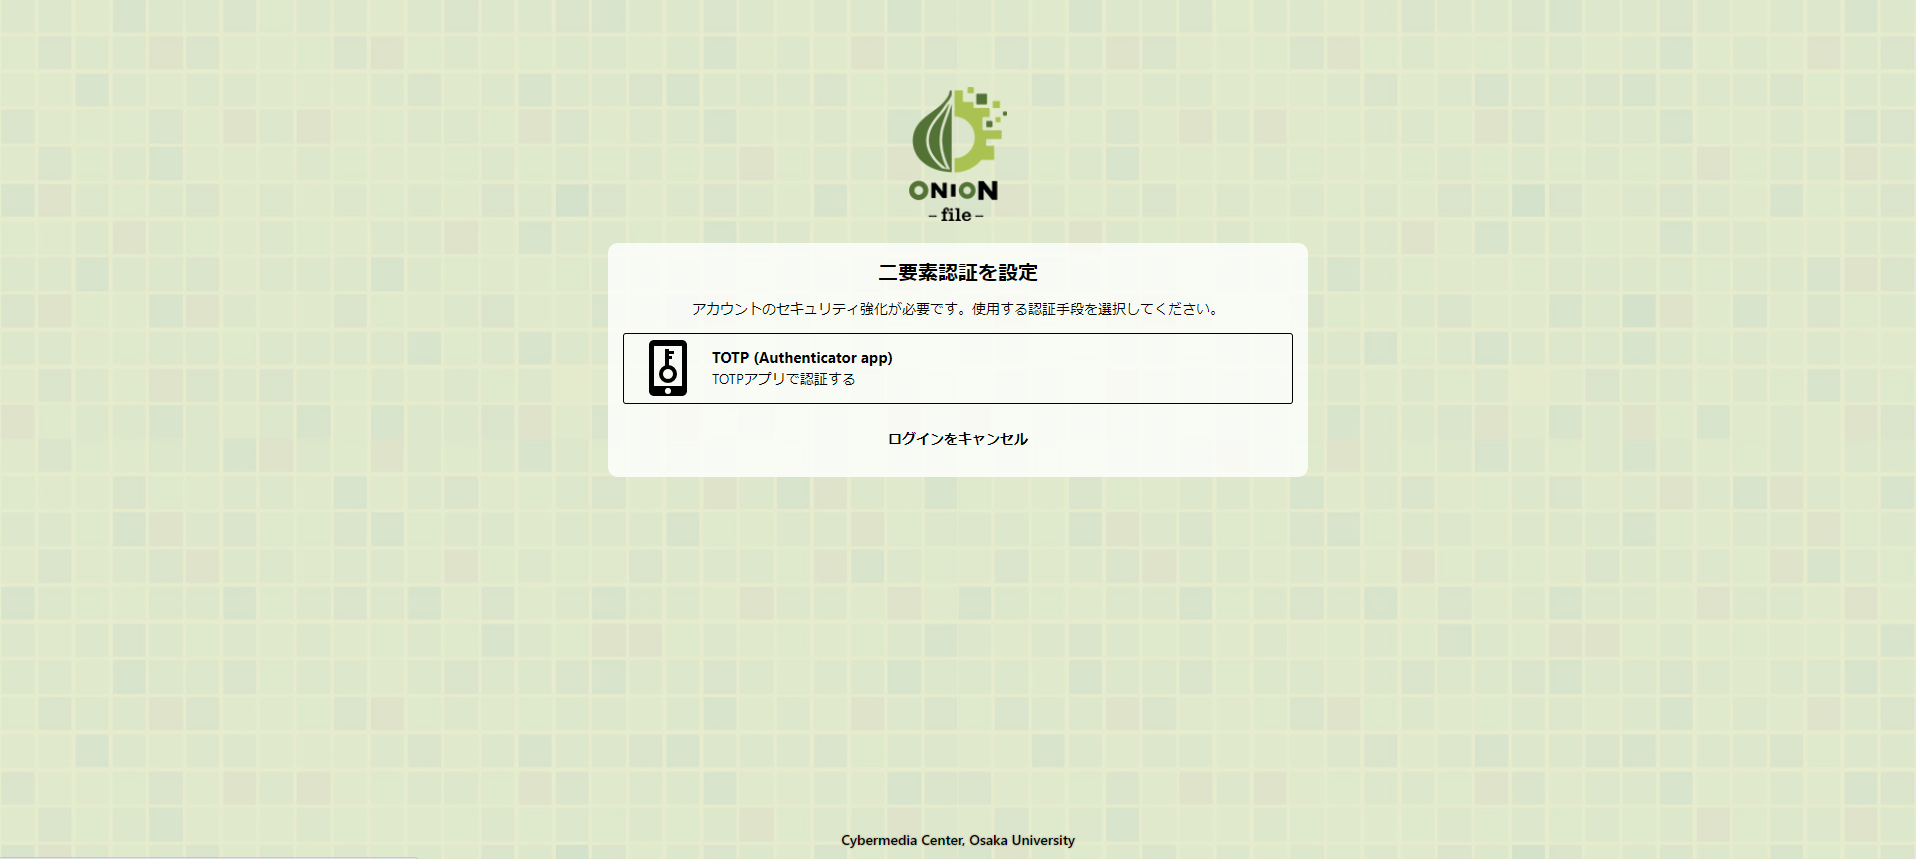
After successful password authentication, the following 2-step authentication selection screen will appear, please click "TOTP Authenticator App".
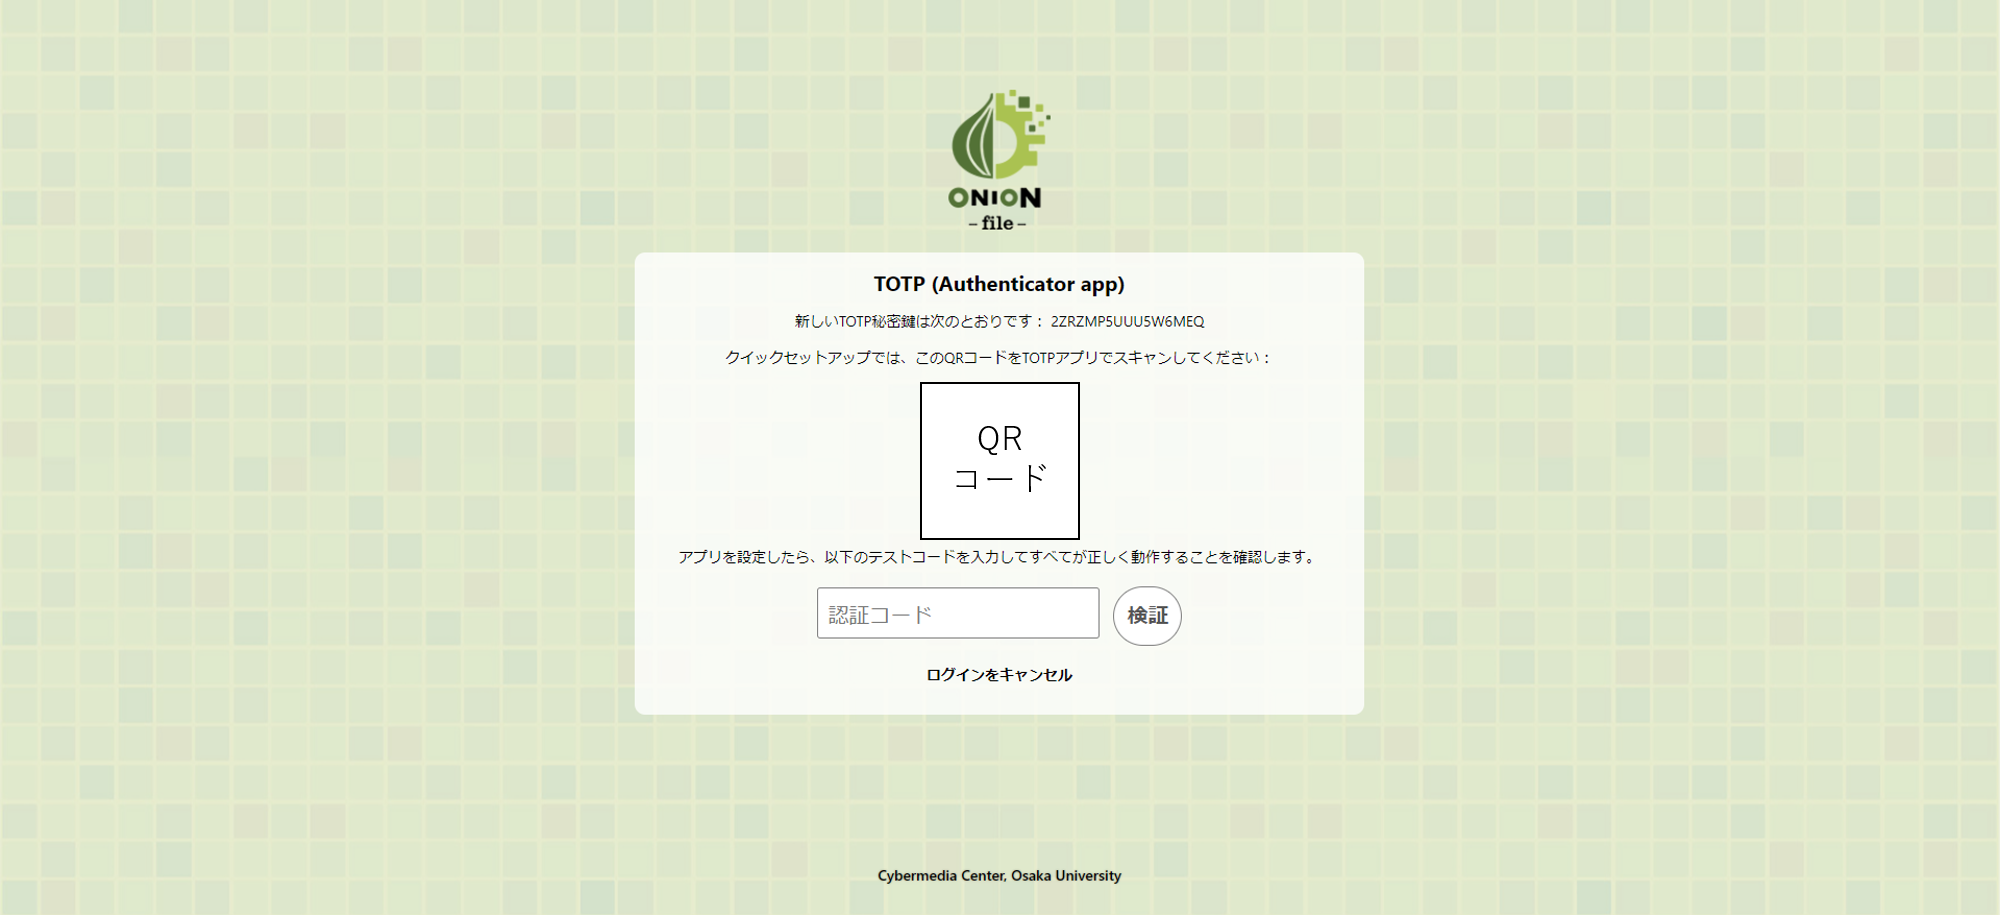
After that, a QR code will be displayed. Please read the QR code with a 2-step verification application such as Microsoft Authenticator, Google Authenticator, etc., and register with the application. Please note that this is a different code from the SQUID 2-step verification.
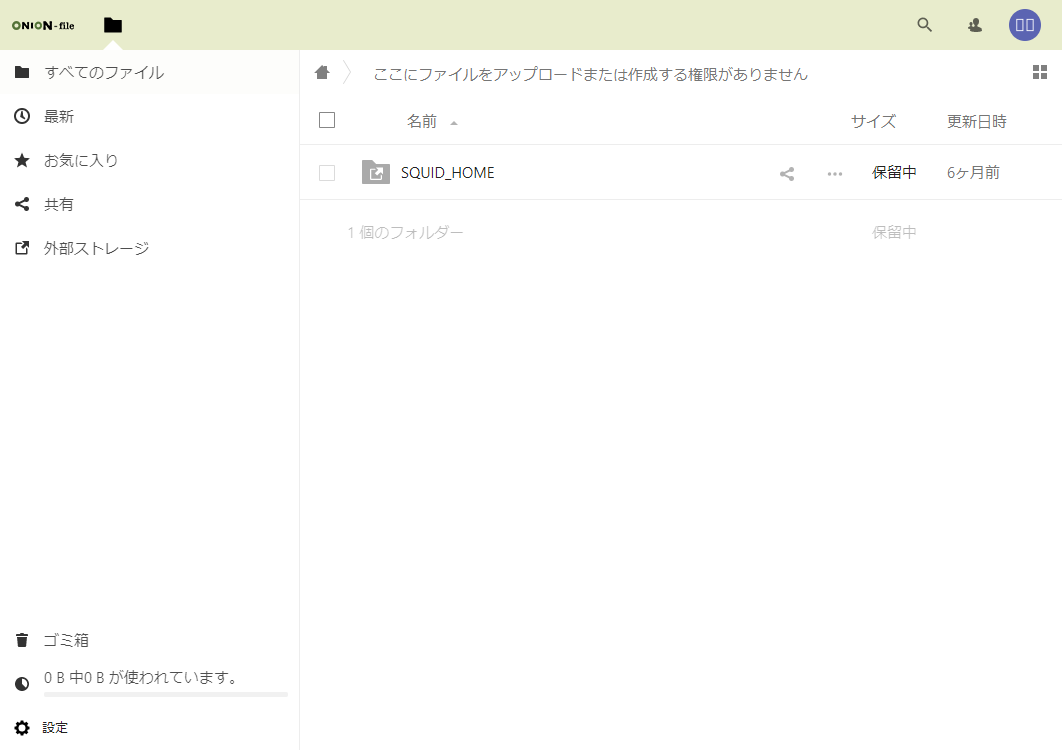
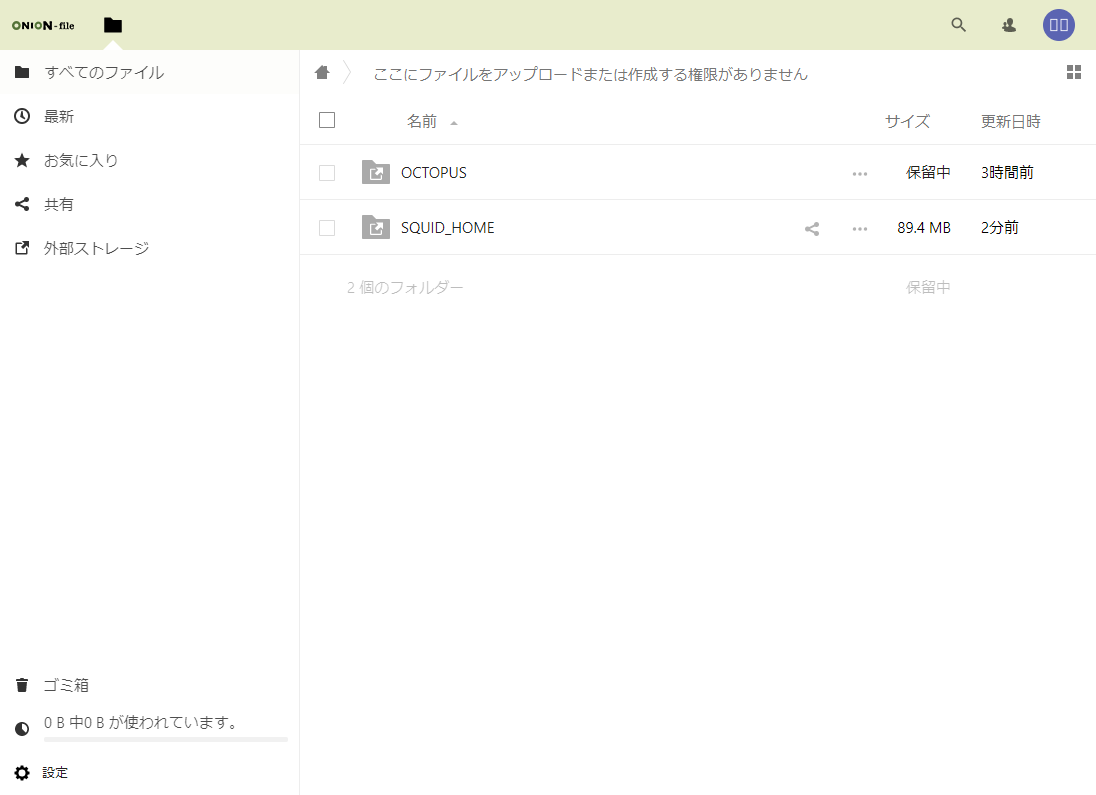
After successcully logging in, your can see your home area on SQUID (/sqfs/home/(userID)/OnionWeb/).
File uploading procedure
Drag and Drop
Referential upload
*When using a web browser for file transfers, uploading large files may fail because the PHP timeout is set to 90 seconds.
(Please note that the maximum uploadable file size depends on your network environment, making it difficult to specify an exact limit.)
Drag and Drop
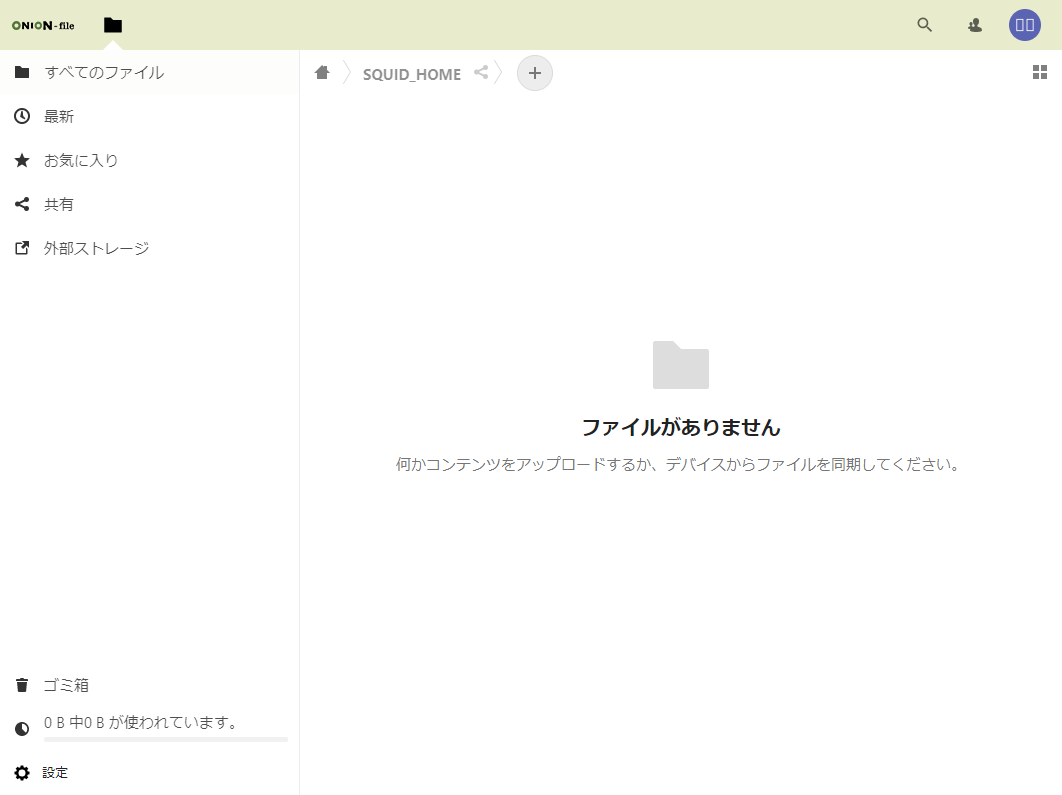
Click "SQUID_HOME".
Drag and drop the file you want to upload.
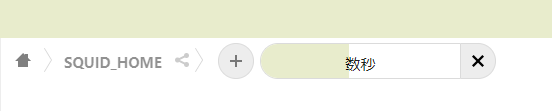
The progress bar is displayed. Please wait for the completion sipping a coffee.
Upload completed if you can see your file on the browser.

Referential upload
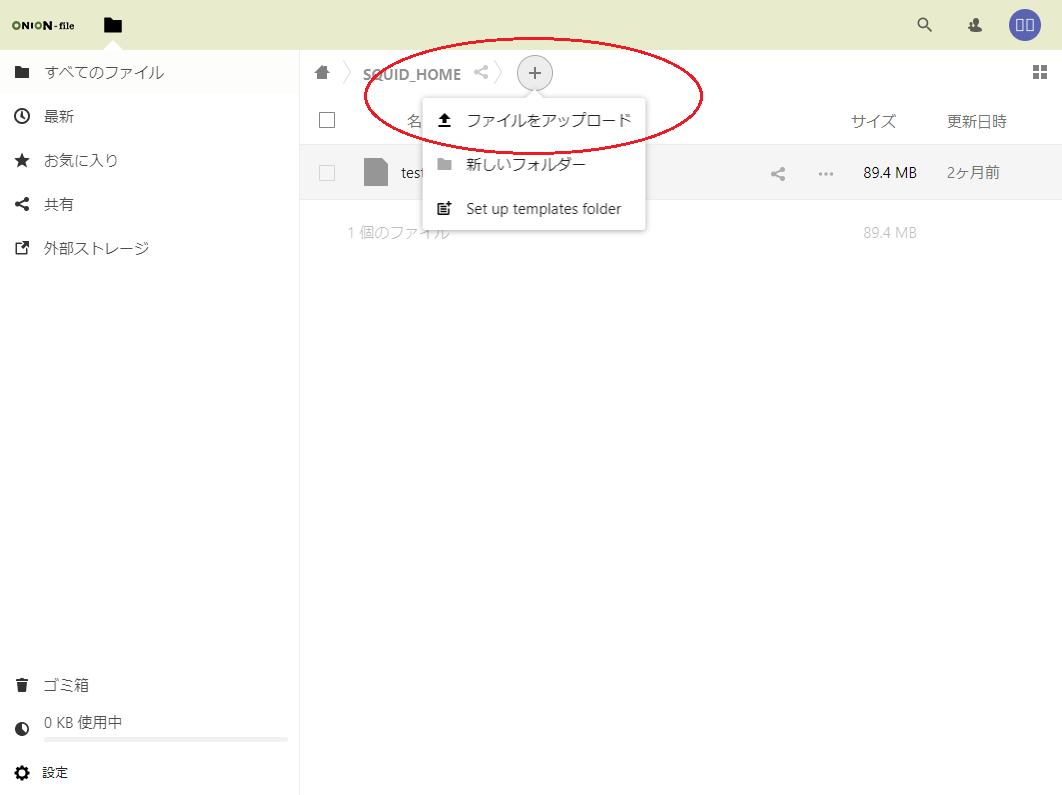
Click "SQUID_HOME".
Select the "upload file" menu after clicking "+" in the upper part of the browser. You can choose your file from the file referential dialog.
The progress bar is displayed Please wait for the completion sipping a coffee.
upload completed if you can see your file on the browser.
Way to download
Download of a single file
Download of multiple file
Download of a single file
Download of multiple file
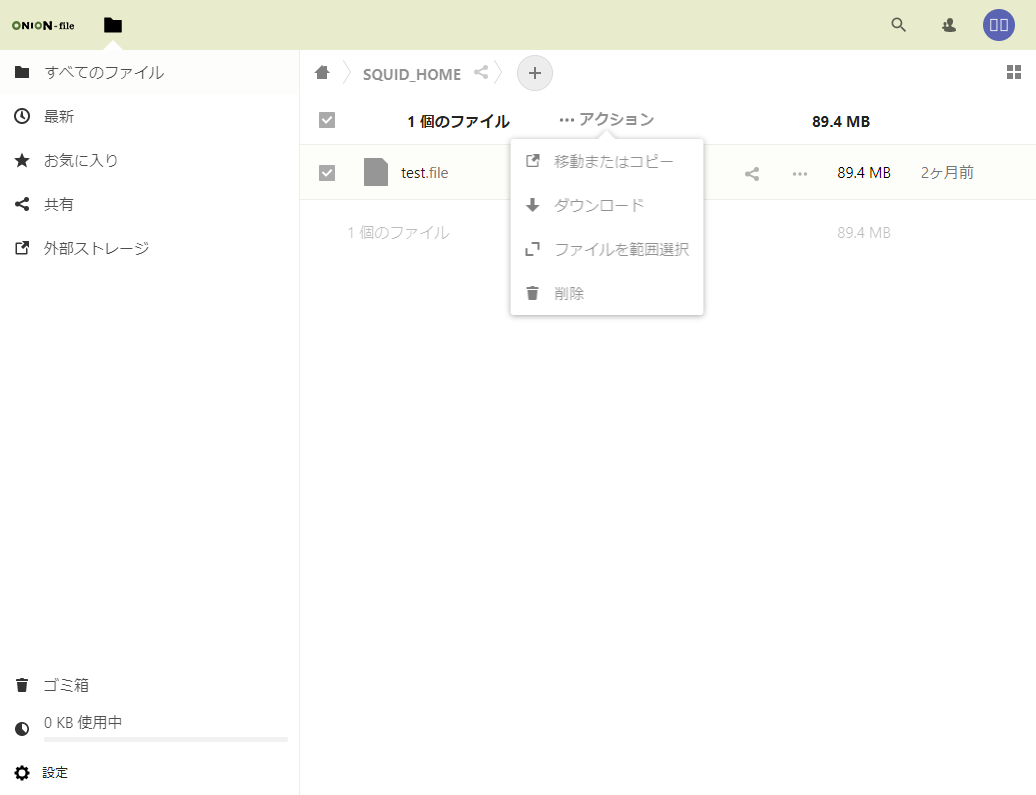
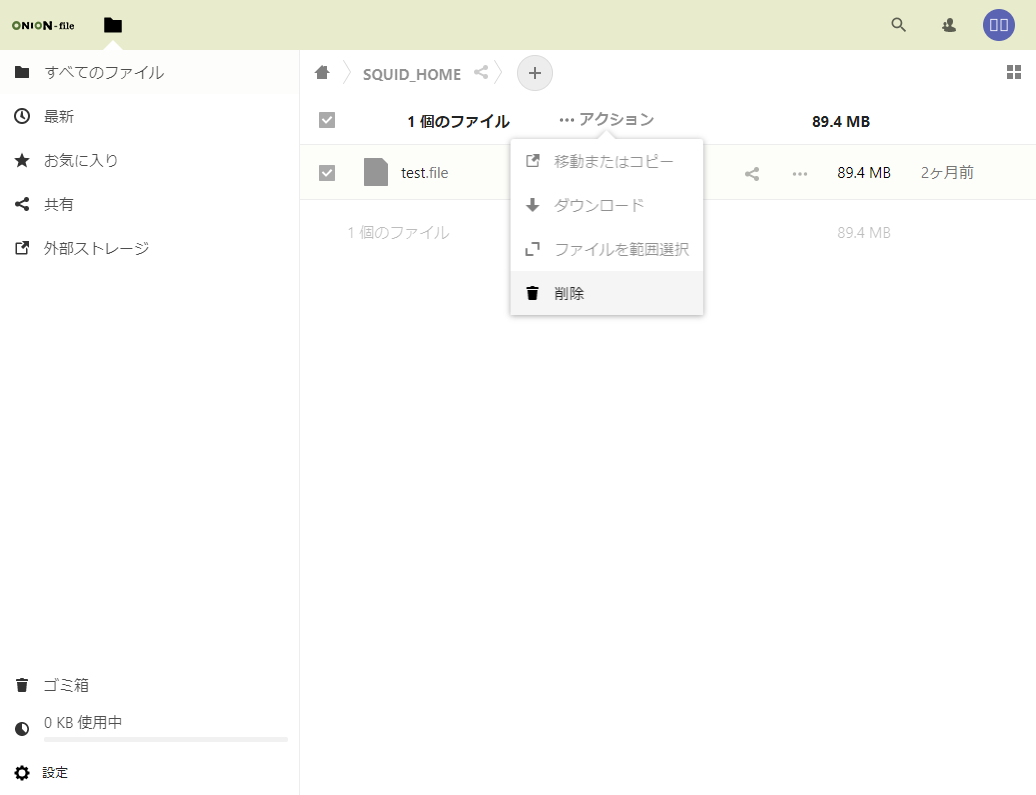
Filename change, move/delete
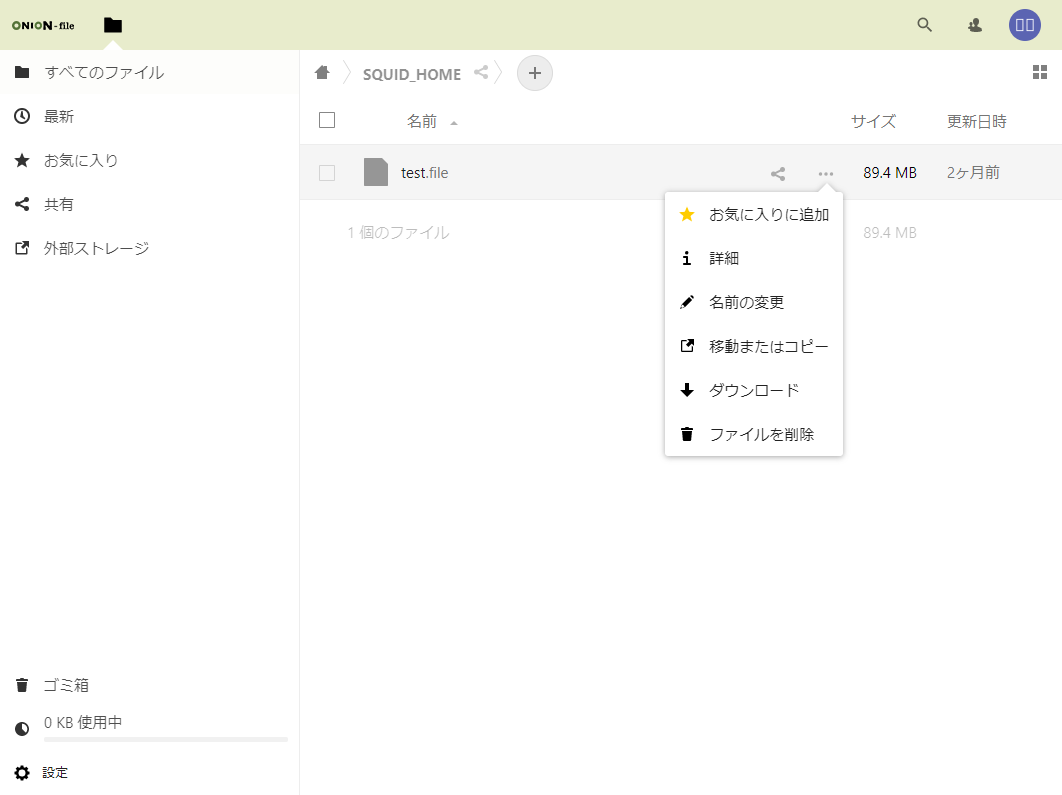
Turn on checkboxes next to files you want to delete. Please click "delete" after clicking"...action"
Folder/file sharing
Click the shared mark(
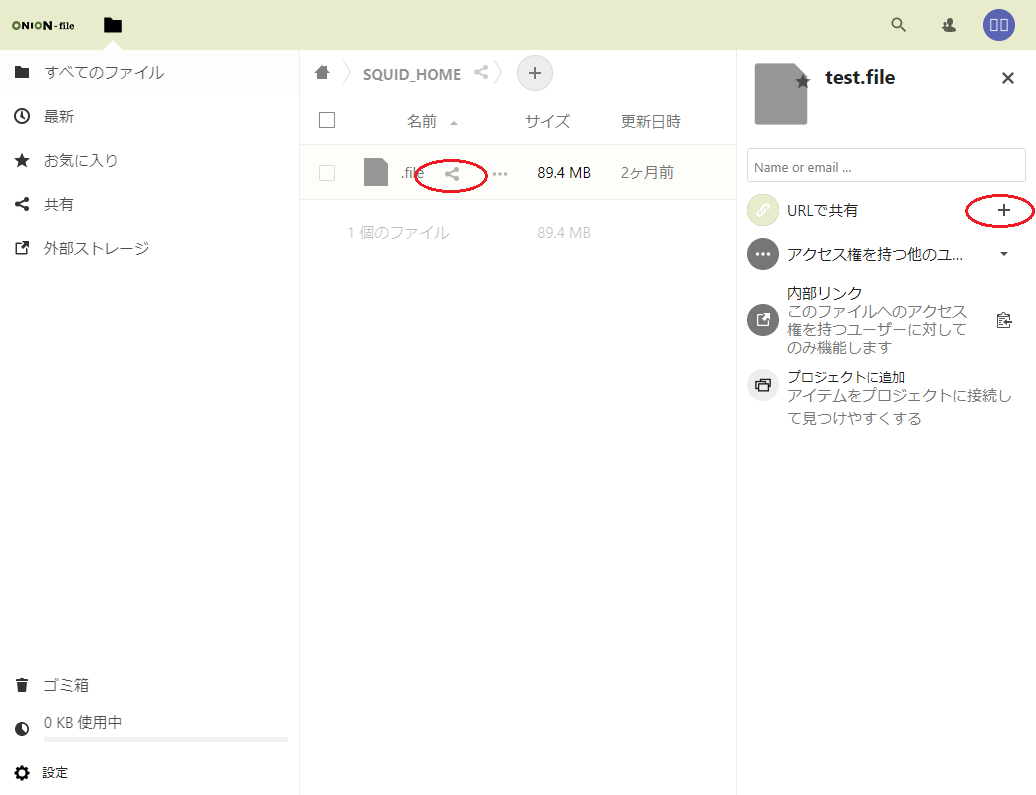
After the window like shown below is displayed.
Configure a password or use the default password suggested by the system. In the case that you yourself configure the password, your password should be longer than 12 characters.
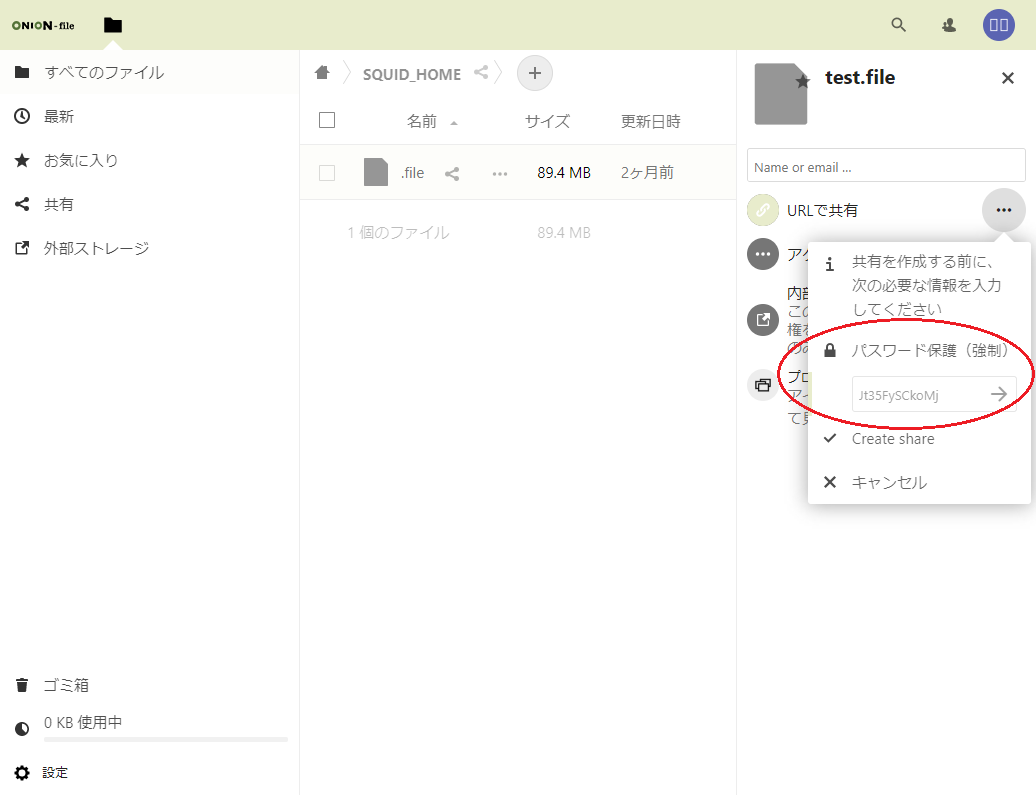
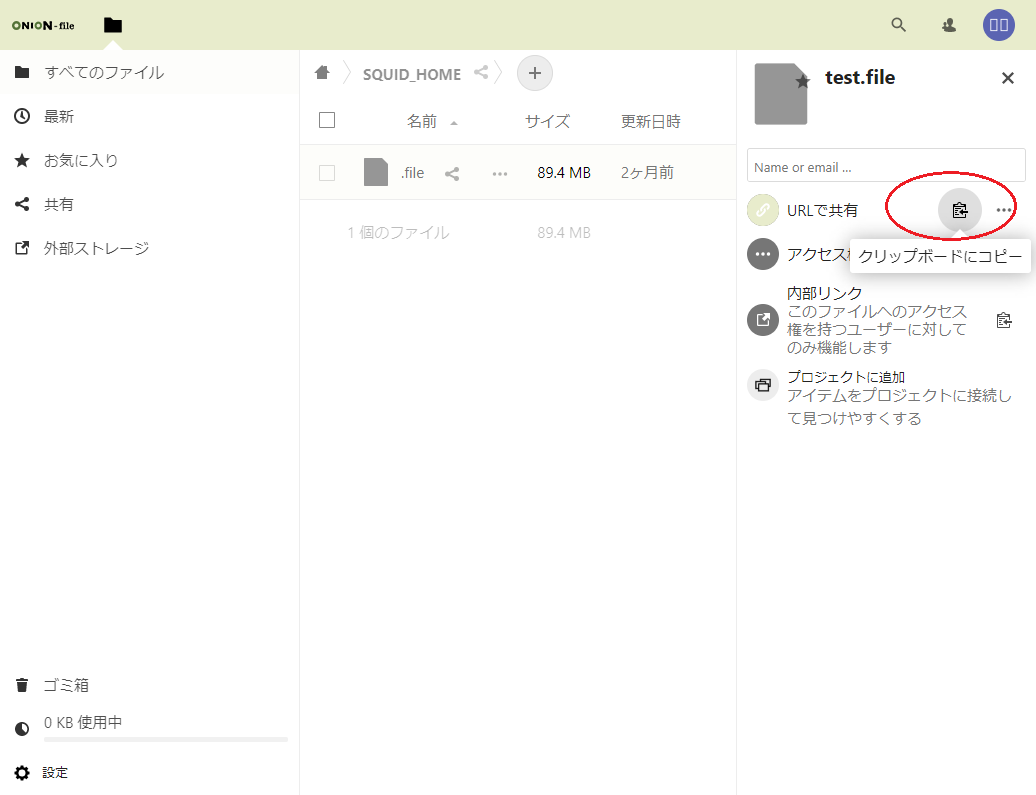
The right icon on the right side of "Sharing with URL" changed as shown below. Click "...".
Change the configuration as you like after the following menu is displayed. After your configuration is done, you may close the menu.
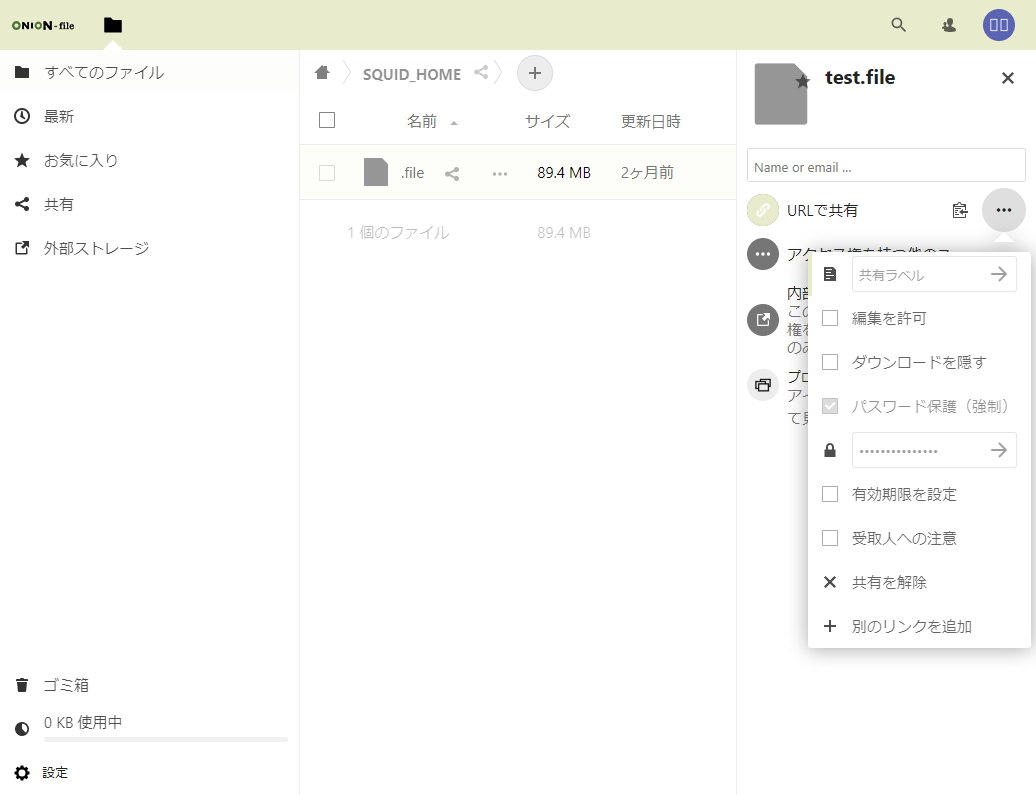
| Sharing label | Label which sharing ownder administers. |
|---|---|
| Permit edit | This is set invalid. |
| Hide download | This is set invalid. |
| Password Protection(forced) | you cannot make this invalid. You can change password as you like. After changing, please click "->" |
| Validity configuration | You can set the valid period of your sharing URL. |
| Note for user | You can add message. |
Nextcloud remembers the sharing URl when you click the clip board icon on the right side of "sharing with URL". Send the password and the Nextcloud remembered URL to your collaborator.
If you end "file sharing", please click "Unshare" after clicking "..." rite side of "share link".
Use of external storage
Check "✓" after completing.
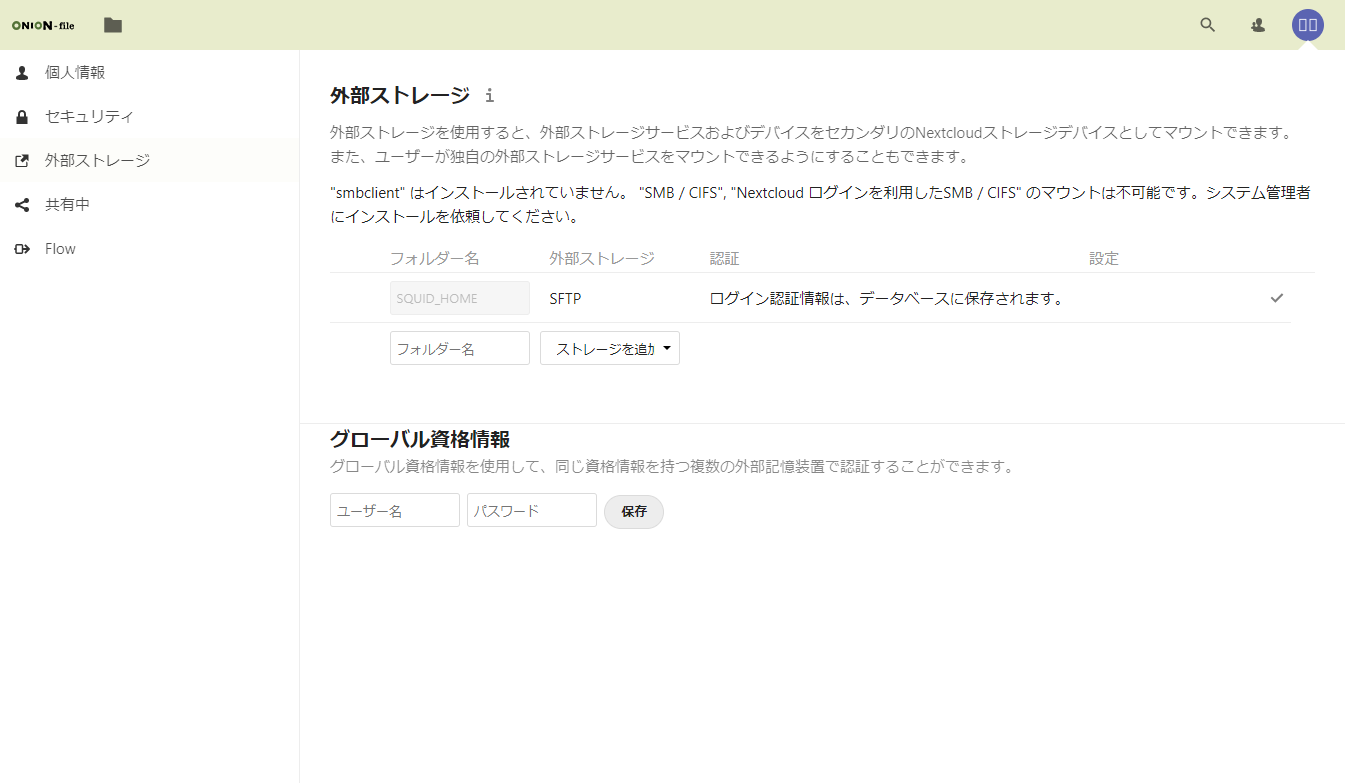
SFTP integration (SFTP)
| Folder name | You can specify as you like. |
|---|---|
| External storage | Choose "SFTP". |
| Authentication | Choose the one you like. The folloing input examples are when "Username and password" is selected here. |
| Host | Specify FQDN etc, for external storage. |
| Root | Specify Path for external storage. |
| Username | Specify Username for external storage. |
| Password | Specify Password for external storage. |
| Advanced settings ("...") | If you want to share this folder with others, check the box for "Enable sharing". |
Amazon S3 Integration (Example: ONION-object)
| Folder Name | Please enter an arbitrary name. |
|---|---|
| External Storage | Select “Amazon S3”. |
| Bucket Name | Enter the name of the bucket you wish to connect. |
| Host Name | Enter the S3 endpoint as the access destination for the external storage. For ONION-object, use “s3-osakau.oniongw.onion.osaka-u.ac.jp”. |
| Port | Enter the port number only if required. For ONION-object, leave this field blank. |
| Region | Enter the region only if required. For ONION-object, leave this field blank. |
| Enable SSL | Check this box if you wish to use SSL. For ONION-object, please enable this option. |
| Enable Path-Style | We recommend using the S3 standard method (virtual-host–style access), and this option normally does not need to be enabled. ※ Even if you enable path-style access, it will work the same and there is no functional difference. |
| Legacy Authentication (v2) | Enable this option only if you need to use legacy authentication. For ONION-object, please leave this unchecked. |
| Enable Multipart Copy | This option normally does not need to be enabled. ※ Enabling this may improve performance when copying large objects within S3. |
| Access Key | Enter the access key of the storage you are connecting. |
| Secret Key | Enter the secret key of the storage you are connecting. |
| Advanced Settings | If you wish to share the folder, enable “Allow sharing”. |
Return to the ONION-file top page and confirm that the folder name you entered is displayed.
Amazon S3 Integration (Example: SQUID S3DS)
| Folder Name | Please enter an arbitrary name. |
|---|---|
| External Storage | Select “Amazon S3”. |
| Bucket Name | Enter the name of the bucket you wish to connect. |
| Host Name | Enter the S3 endpoint as the access destination for the external storage. For SQUID S3DS, use “squidgw.hpc.cmc.osaka-u.ac.jp”. |
| Port | Enter the port number only if required. For SQUID S3DS, leave this field blank. |
| Region | Enter the region if required. For SQUID S3DS, enter “osakau”. |
| Enable SSL | Check this box if you wish to use SSL. For SQUID S3DS, please enable this option. |
| Enable Path-Style | We recommend using the S3 standard method (virtual-host–style access), and this option normally does not need to be enabled. ※ Even if you enable path-style access, it will work the same and there is no functional difference. |
| Legacy Authentication (v2) | Enable this option only if you need to use legacy authentication. For ONION-object, please leave this unchecked. |
| Enable Multipart Copy | This option normally does not need to be enabled. ※ Enabling this may improve performance when copying large objects within S3. |
| Access Key | Enter the access key of the storage you are connecting. |
| Secret Key | Enter the secret key of the storage you are connecting. |
| Advanced Settings | If you wish to share the folder, enable “Allow sharing”. |
Return to the ONION-file top page and confirm that the folder name you entered is displayed.
Use from the application
Reference
